Repairing (cleaning) a Microsoft Pro Intellimouse 1893 Track Wheel
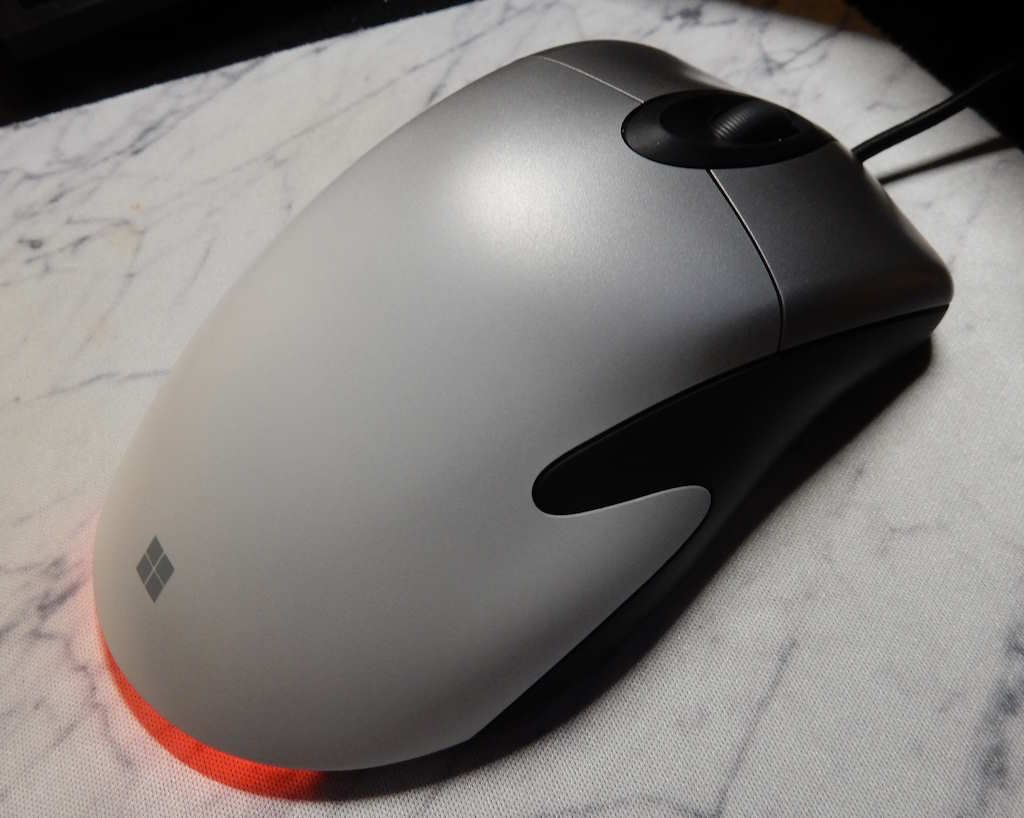
This details how I fixed (by cleaning up) the track wheel that was skipping some rolls on my Microsoft Intellimouse Pro, Model 1893. This was the mouse released around 2021, not the older IntelliMouse from the 1990s.
Summary
- The problem was a dirty optical sensor for the track wheel
- Clean it with isopropyl alcohol soaked microfibre cloth
- To get in to the mouse, there are four security screws (replaceable by similarly sized machine screws) under each of the four feet of the mouse
Tools
- #0 Phillips Screwdriver
- #1 Phillips Screwdriver
- Soft tools to pry the plastic without damaging it (Plastic Spludgers, ziptie/tiewraps, chopsticks, wooden skewers, etc)
- Isopropyl alcohol (the 70% “rubbing alcohol” variant works too)
- Microfibre cloth (you usually find these among the cleaning supplies for eyeglasses, cell phone screens and monitors, and sometimes in automotive supplies)
- Unknown screwdriver for the security screws
Details
The Problem
The problem I had with the mouse was when using the scroll wheel, it would occasionally not register that I had rolled the wheel. For example, if I scroll down a web page, I would tick the scroll wheel 10 times, but it would only register 7 to 9 of those ticks. I suspected a faulty or dirty sensor because the wheel basically had spots that would not register.
I initially tried cleaning the wheel without dismantling the mouse by using a cotton swab soaked in isopropyl alcohol on the outside of the mouse while rolling the wheel. (This is one of the ways gamers would clean the analogue sticks on their controllers.) It did not help in this case. After dismantling the mouse (next in the article), I found it was because more debris got in to the internals of the mouse.
Teardown and Cleaning
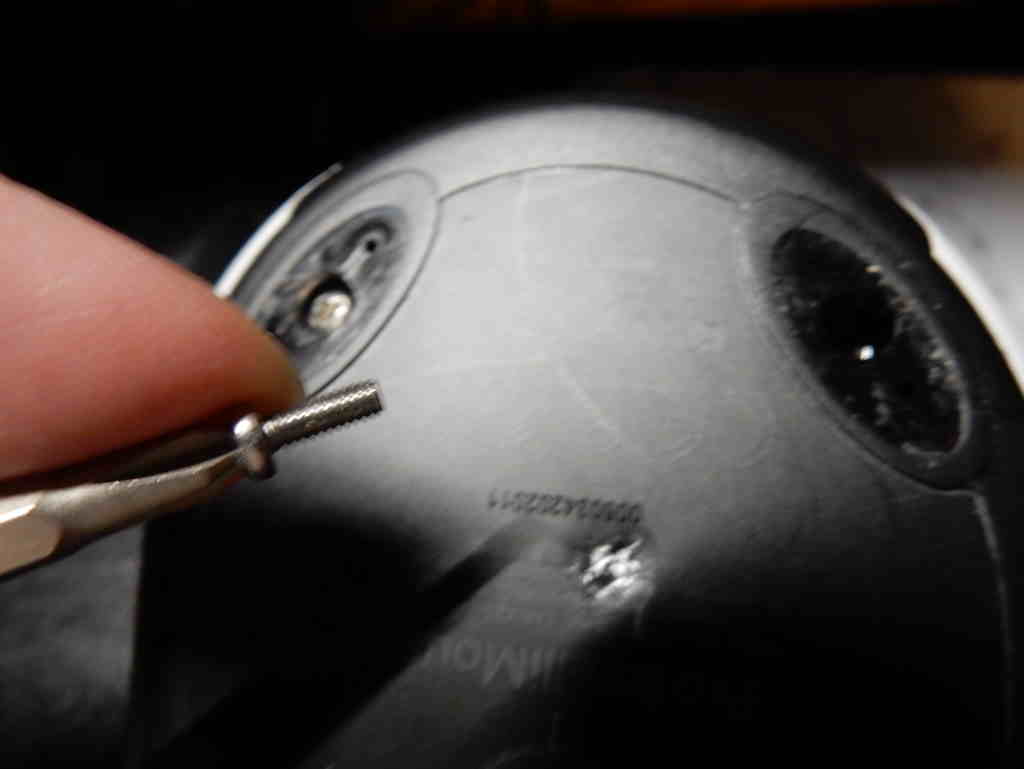
Peel off all four of the rubber feet to reveal security screws under each foot. (Also note that the label showing the model number has a dimple in it, but there is no screw under it.)

These are the only uncommon screws holding the mouse together.
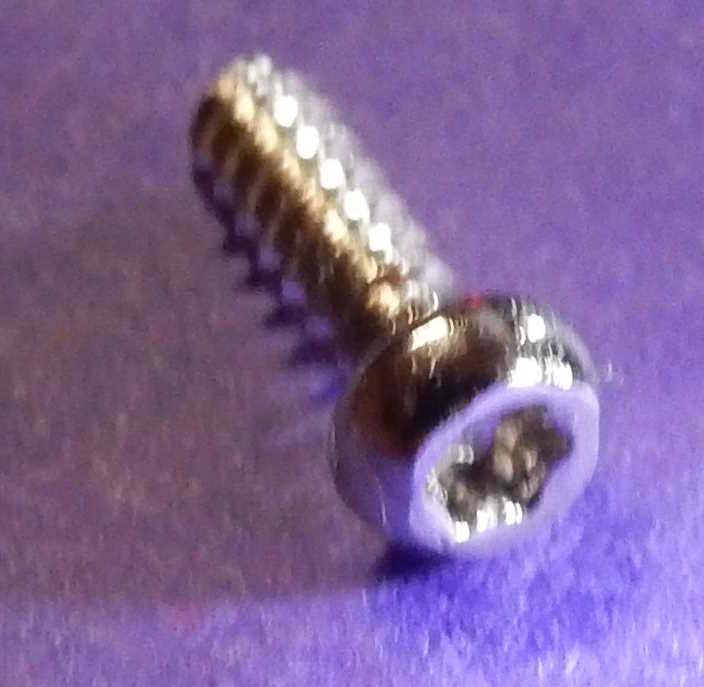
I could not figure out the exact type of the security screw, but here are the properties I did find about it:
- In total, the screw is 7.5mm long
- The length of the thread measured from the head is 5.9mm
- The diametre of the head is 3.4mm
- The diametre of the thread is 1.9mm
- The thread itself is a coarser thread than most “NC” machine screws of the
same diametre
- Note I substituted a #2 × 1/4” (US) machine screw and it fit fine; likely the wrong thread, but it is going into ABS plastic, so it’s fine
- I couldn’t figure out the type of screwdriver needed:
- There was a security dimple in the head similar to security torx heads
- A T6 security was too small
- A T7 security was too big
- You can cram a 1.5mm jeweler’s flat head screwdriver between the dimple and the edge of the screw head’s edges to turn it… sometimes
I used a 1.5mm jeweler’s flat head screwdriver on three of the four screws, but I stripped one of them. Therefore, I drilled out the screw with a 1/8” drill bit (hopefully you won’t need to do this):
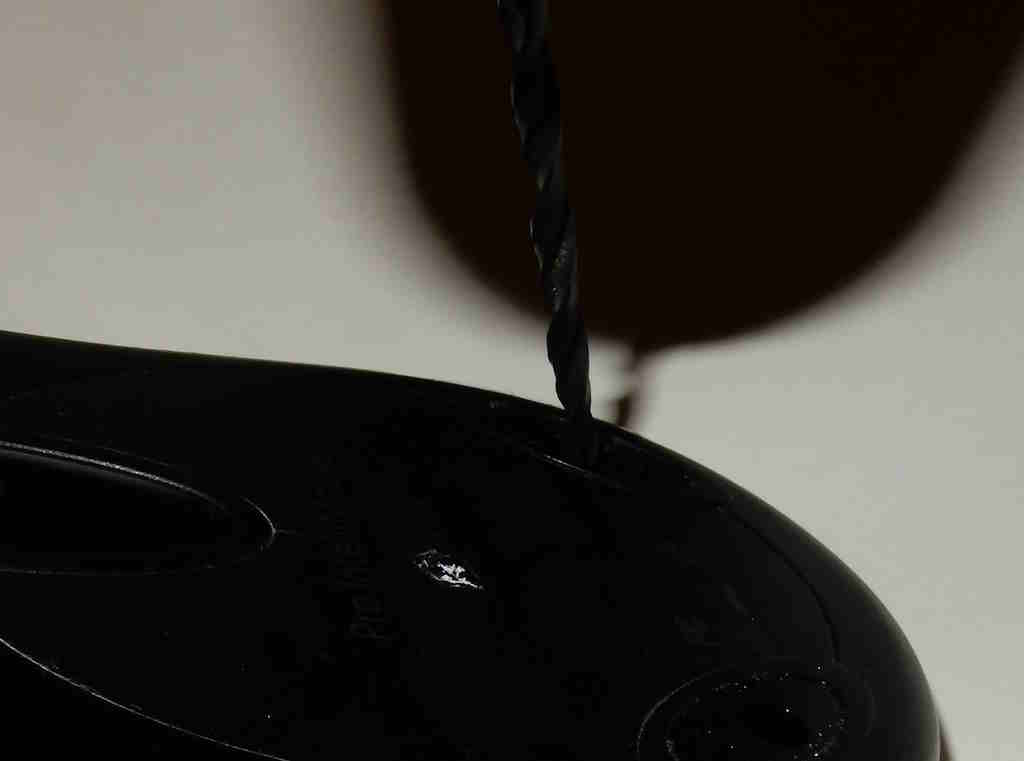
Interestingly I didn’t have to destroy the whole screw head because half-way through, the drill started to turn the screw and melted the plastic. I was therefore able to start prying the mouse at that point.
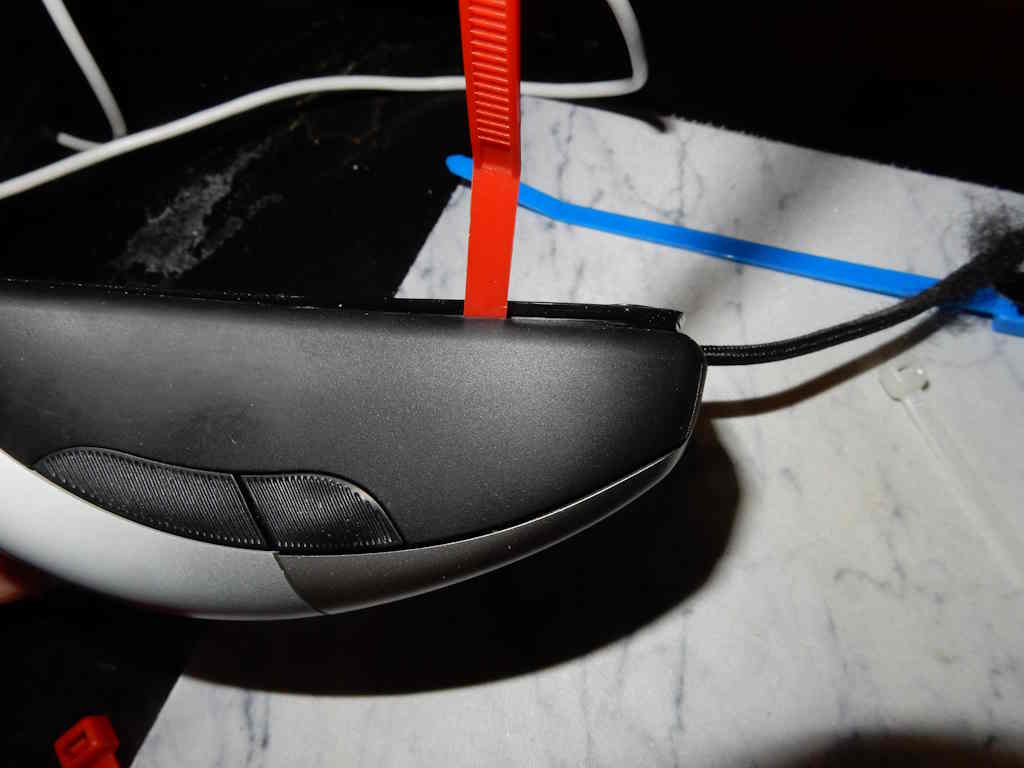
The bottom plate of the mouse separates out from the rest of it. I used some zip ties as a prying tool to avoid damaging the plastic (since the zip ties are about as soft as the mouse, and won’t scratch much).
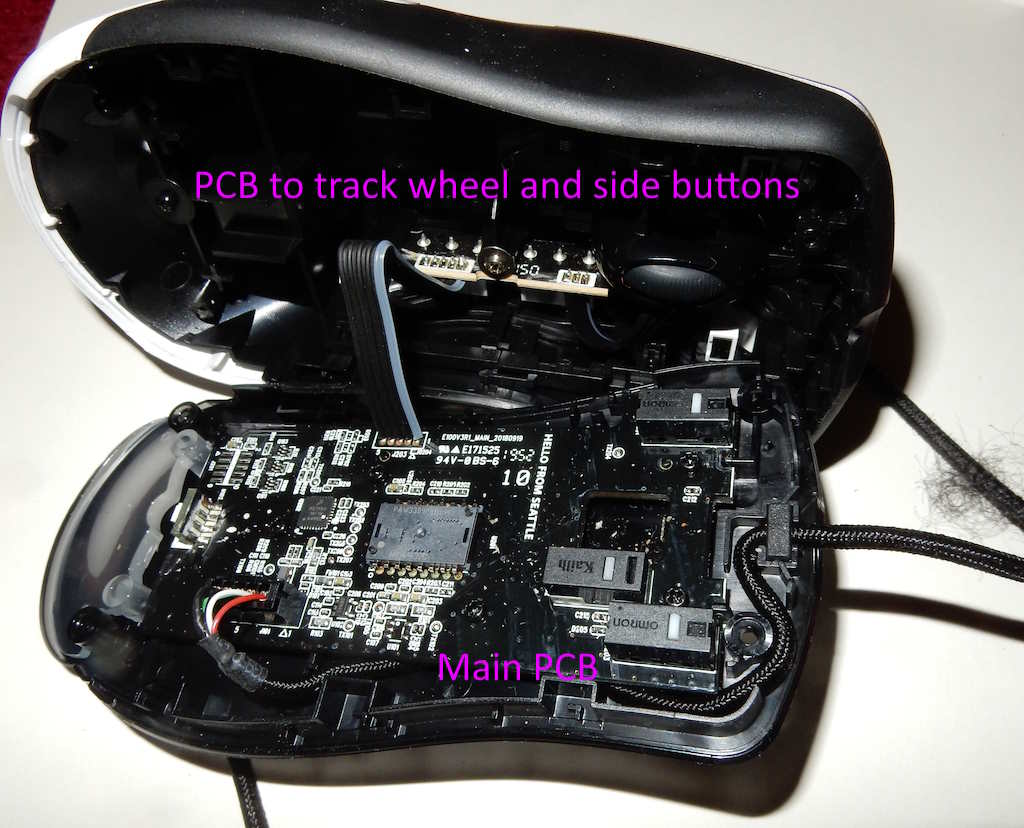
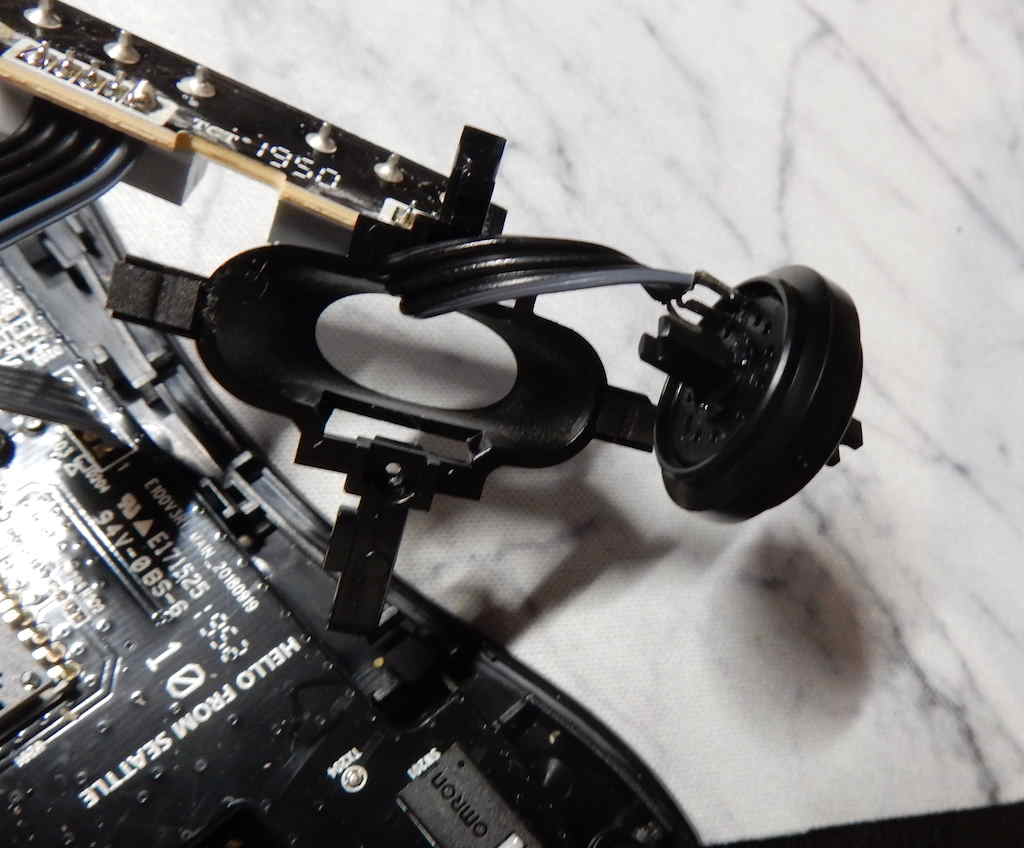
The inside of the mouse is broken up into two printed circuit boards (PCBs): A main one taking up most of the bottom plate and a little PCB that goes to the side buttons and the scroll wheel. Note that the scroll wheel sensor itself is directly soldered to the side button PCB.
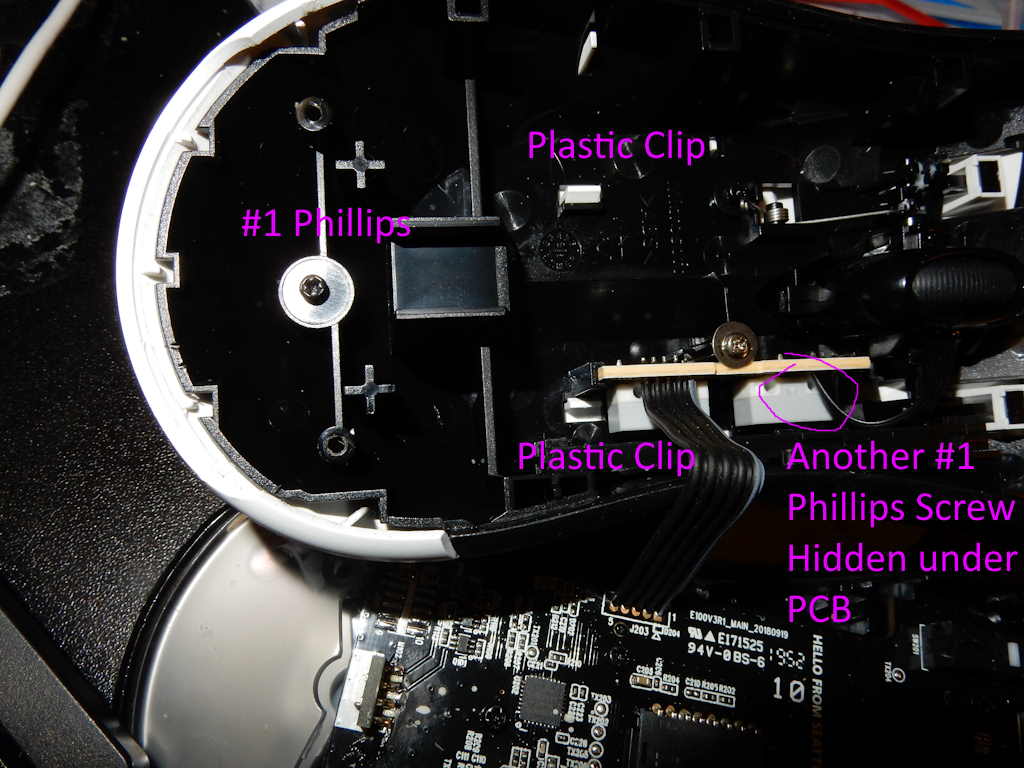
The white plastic shell that your palm rests on is connected to the housing by four connections:
- Two plastic clips
- Two #1 Phillips screws, one of which is under the side button PCB that you can dismount by unscrewing the visible #1 Phillips screw with the wide head
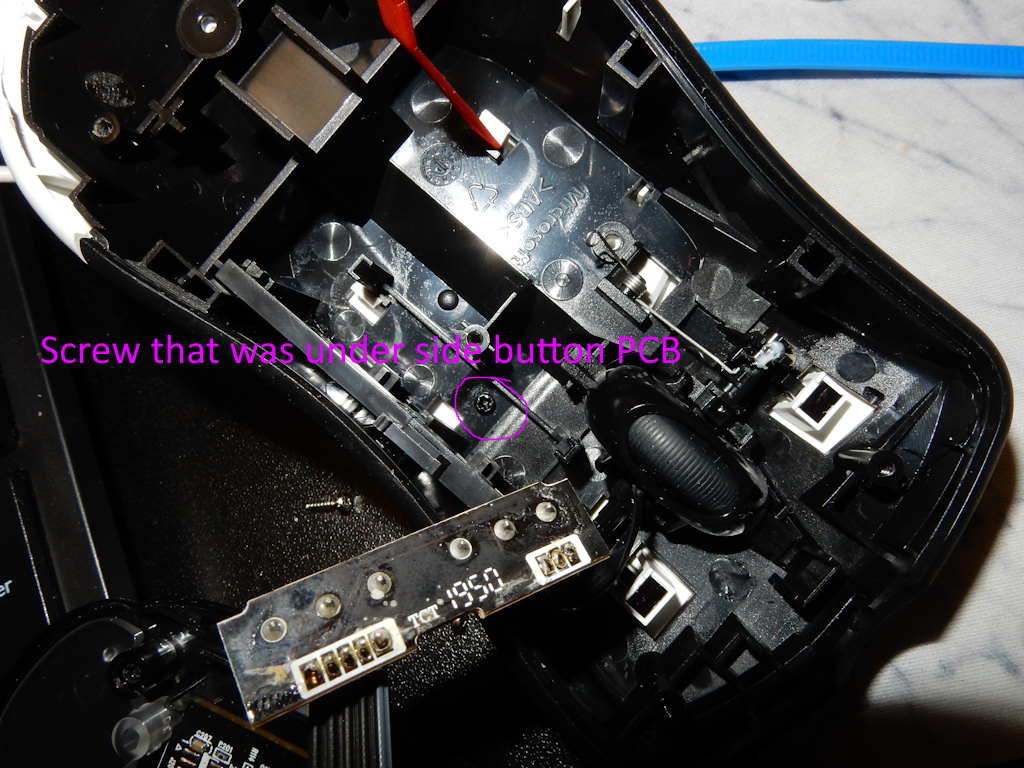
After removing those screws and loosening the clips, you can take the mouse apart into the following components. Note that the track wheel is only held in by the spring and a plastic loop, so you can jiggle it side to side until it comes out (gently, with basically just the force from your fingers; you’re missing something if you are anything more than fingers are forearm strength).

The problem with my mouse was just dust and fibre build-up near the track wheel sensors.
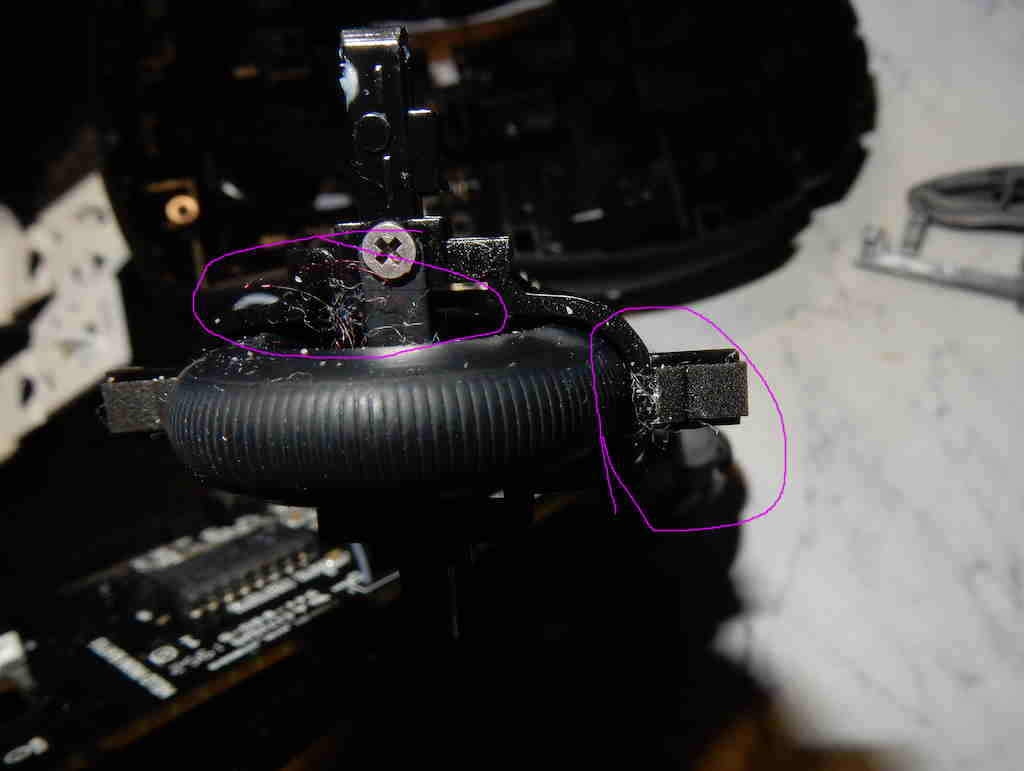
To dismount the track wheel sensor, there were two #0 screws at either side of the track wheel. I also made sure to not break the wires, because the sensor is held on by a solder joint only.
To clean the components, I liberally soaked a microfibre cloth in isopropyl alcohol and rubbed it on and around the sensor, enough that the alcohol seeped in to the sensor. I gave the dismantled sensor a few spins as well while rubbing with the cloth in case there was additional dust inside the joints of that wheel.
After about 20 minutes, I was able to test by plugging the still dismantled mouse into a cheap powered USB hub (so that if there was a short circuit, I only burn the USB hub and not a USB port on my computer’s motherboard).
In case I needed to do this again, I replaced the funny security screws with #2 × 1/4” machine screws.
After the cleaning, the mouse is working as expected.